Cutting Concrete
Cutting concrete is the process of making control joints. Control joints are necessary to control cracking as well as for the decorative designs you can create. There are two options to making control joints. You can cut the concrete while it is still wet or you can wait until it is dry and use a concrete saw. Here are the pros and cons of each way:
Wet Cuts - Pro's: Wet cuts create a more decorative look, and it prevents premature cracks. The cons of this method are that there is less time to finish the concrete before it dries so you may need more people, and if you hire a contractor, it may cost more because of the increased labor. Another con is that the cut is wider, so it may attract more debris in the grooves of the concrete.
Dry Cuts - Pro's: They are fast to create and it only takes one person to do them. The cons to this method are that the cuts may chip (because the angles are made at 90 degrees instead of the radius angle created by a wet cut) and it may not look as decorative as a wet cut.
Directions to creating cuts in a concrete patio:
Wet Cut Materials:
- Tape Measure
- String Line
- Groover/Walk-behind Groover
- Long piece of 2X4 lumber (approximately the length of your patio)
Dry Cut Materials
- Tape Measure
- Pencil
- Chalk Box with chalk - can not be red chalk as this will stain the concrete
- Concrete saw or a walk-behind concrete saw
- Broom
- Optional: 2X4 lumber the length of your patio
Step #1
Measure the patio and divide it up into squares. Any square footage over 100 sq.feet should be cut.
Step #2
Mark your cut lines:
For Wet Cuts: Use your sting line and have one person on each side hold the string. Snap the string (like you are picking a guitar string) so that it rebounds down into the concrete making a line.
Do this until you have a "grid" of squares.
For Dry Cuts: Use the chalk box with chalk to create the cut lines. Snap the string from the chalk box in the same manner that you would for the wet cuts.
Do this until you have a "grid" of squares.
Step #3
Cut the concrete:
For Wet Cuts: Take the long 2X4 and set it up to the cut line. Set your groover down flush with the line and next to the 2X4 to stabilize your groover as you move it down the line (make sure you are on your knee boards as you do this).
Continue to make all of your cuts in this manner. After you have cut all of your lines, you may have to repeat it again. The first time generally just pushes rocks down. The second time makes the cut cleaner and more pronounced.
For Dry Cuts: If you are using a hand-held saw, follow the same procedure as the wet cut and place the 2X4 next to your chalk line. Follow the 2X4 down the line with your saw. If you are using a walk-behind saw, you will not need the 2X4, as it has guides on it.
Step #4
Sweep or wash the concrete dust away. (This step only applies to dry cutting.)
Decorative Cutting Ideas
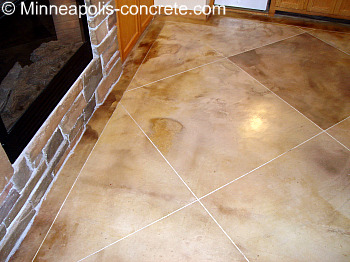
Instead of making square "grid" lines, you can angle your lines to make diamond-shaped squares.
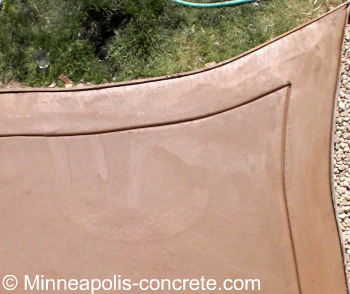
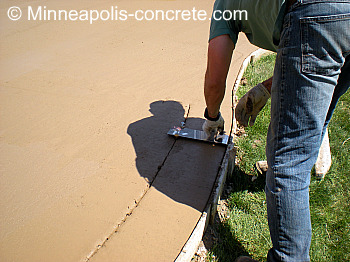
You can also get a tool called a cutter that cuts borders into the concrete while it is still wet.
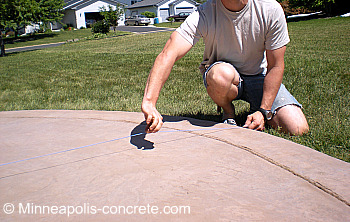
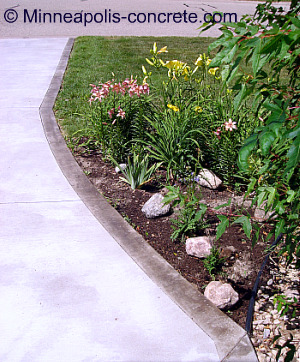
If you are really creative, you can do curved and s-shaped lines. In these instances, use a pencil to draw your design in the concrete. You will not have the stabilizer of the 2X4, so you will need a steady hand. Use a 4 inch grinder with a diamond blade to create curved lines as seen below:
Click here to find out about concrete curing.
After cutting concrete, the final step to creating a concrete patio is to seal the concrete.
If you live in the Minneapolis and surrounding suburbs area, request a quote on your project.
DIY Concrete › Cutting Concrete
License # BC721668



New! Comments
Have your say about what you just read! Leave me a comment in the box below.